Disable OpenCV Logging
When we use OpenCV from command line process, sometimes OpenCV will print internal logging messages such as: This might be useful while debugging OpenCV problems but it is a noise…
I write here about the problems I run into at work and the small tools and libraries I build along the way — mostly in C++ and Python, with the occasional detour into Qt, VTK, or scikit-learn. Older posts from a microscopy hobby are kept around for memory's sake.
When we use OpenCV from command line process, sometimes OpenCV will print internal logging messages such as: This might be useful while debugging OpenCV problems but it is a noise…
Reference table mapping every Visual C++ release to its _MSC_VER and supported C++ standard.
A personal cheat-sheet for git: config, branch, checkout, diff, commit, stash, log, reset, and .gitignore patterns.
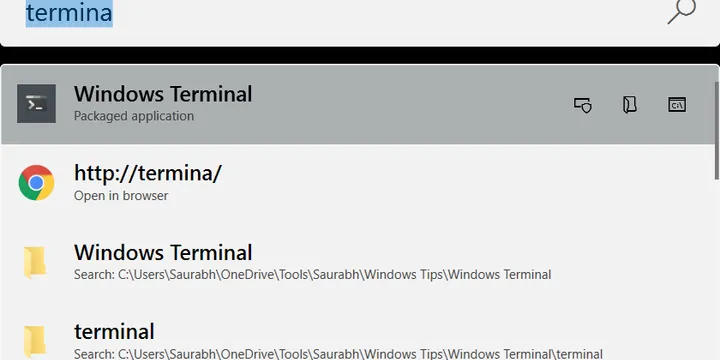
Why Windows Terminal replaced my previous setup, with profile and color-scheme references.
Tour of Microsoft PowerToys with a focus on PowerToys Run, Keyboard Manager, and the rest of the tools I rely on day-to-day.
Qt comes with a class which can be used to show data in a tree view. It can be used to show hierarchical data using either Model/View framework or by manually creating the…